Overview
Once you’ve created a bridge, as a bridge builder, you can customize the bridge view for the rest of your team (consumers) to ensure that they’re seeing the most actionable, relevant information in their feed and email digest. This configuration will be reflected both in consumers’ “My Feed” as well as within their email digest.How to configure the consumer view
1
Switch the bridge to Consume view
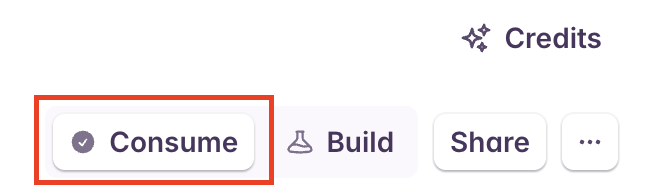
2
Open Configure consumer view
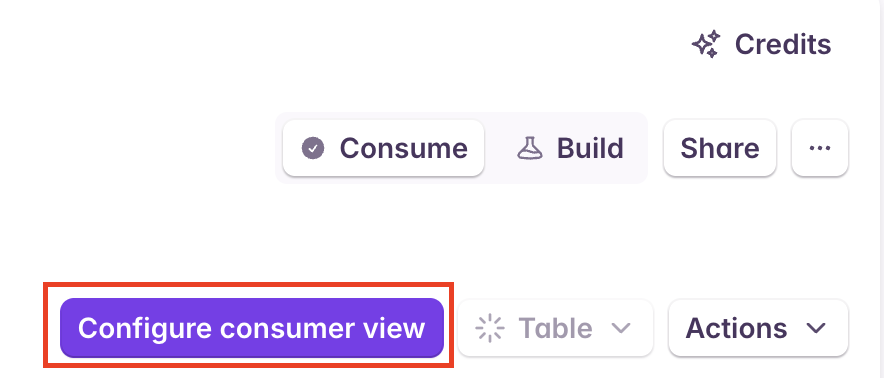
3
Update layout, then set filters and sorting
You’ll be able to customize the consumer view by changing the default information layout and by applying filters & custom sorting to ensure only the most relevant data is shown to your team.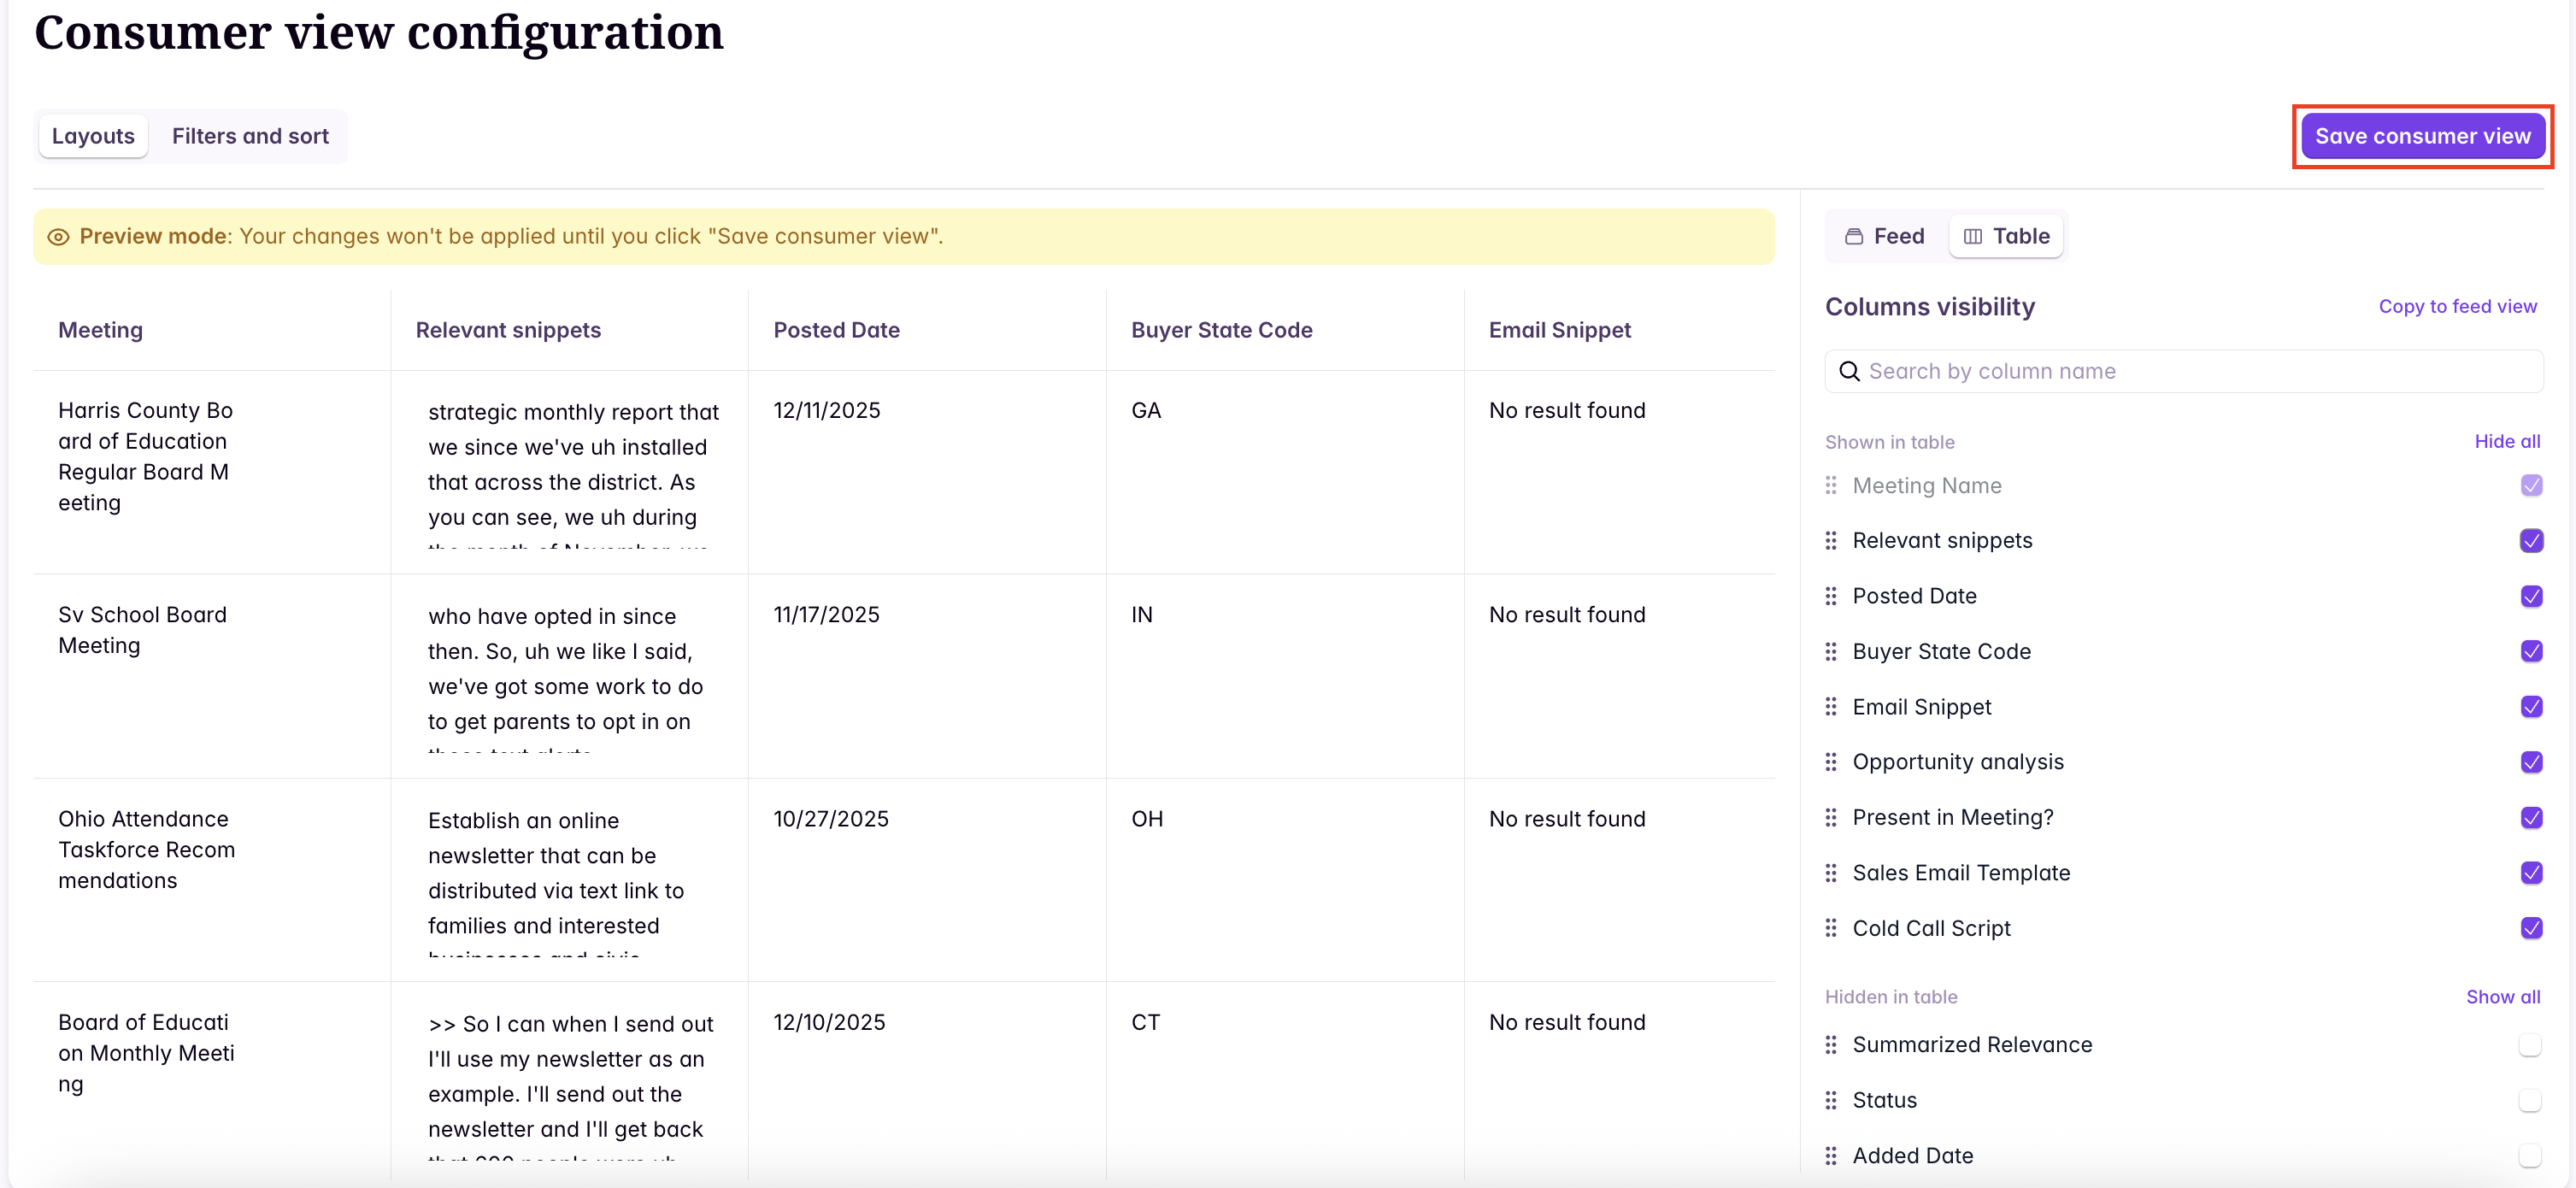
As you customize the consumer view configuration, you can see a live preview of how the bridge will be presented to your team. Changes you make aren’t applied until you click “Save consumer view” in the top right.
Consuming feed card layout
There are two bridge views: table view and card view. Only the card view is available on “My Feed”. Within the bridges tab, users can toggle between the table view and card view.
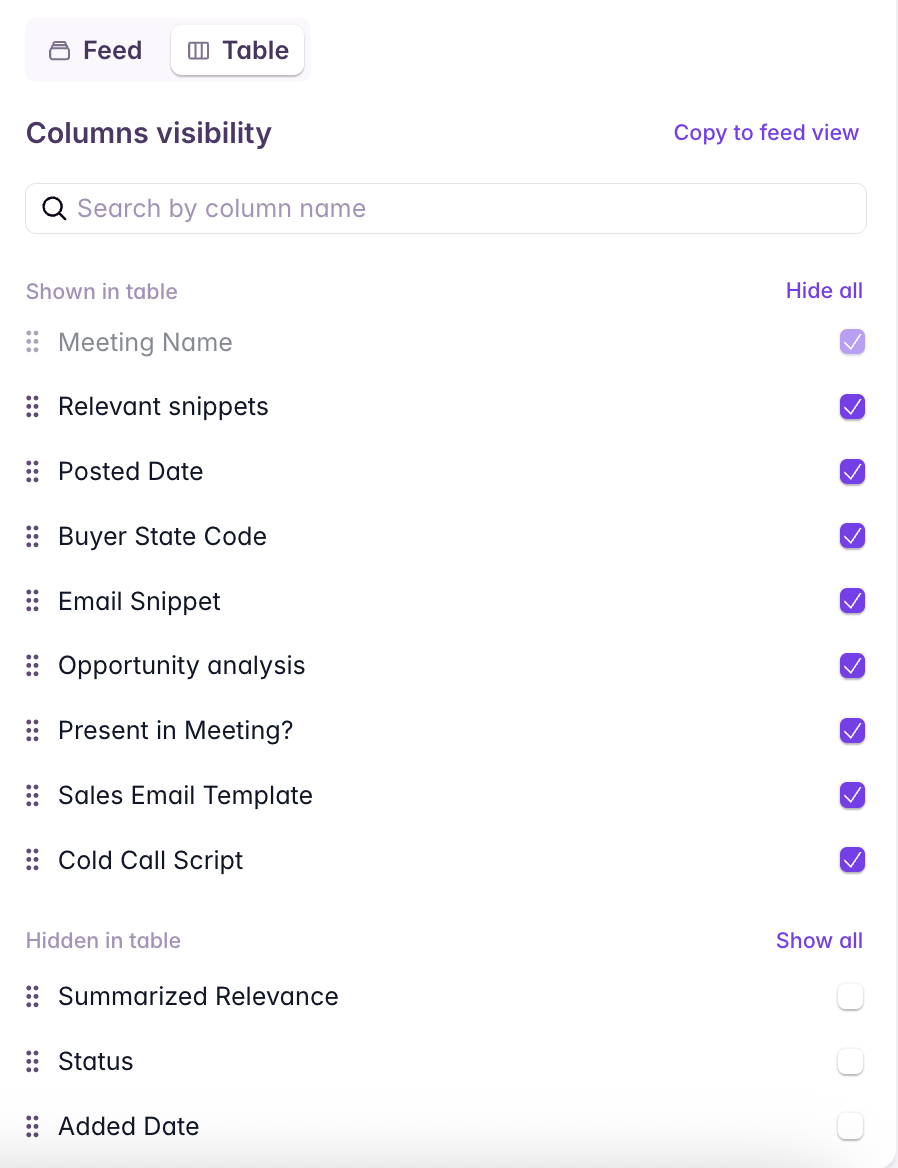
When adding new columns to a Bridge, they are hidden in the consumer view by default, so make sure to enable them if you’d like them to be visible to your team.
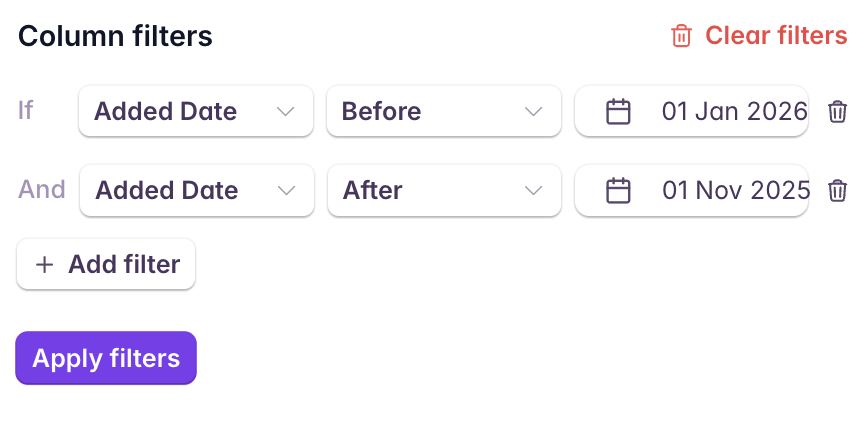
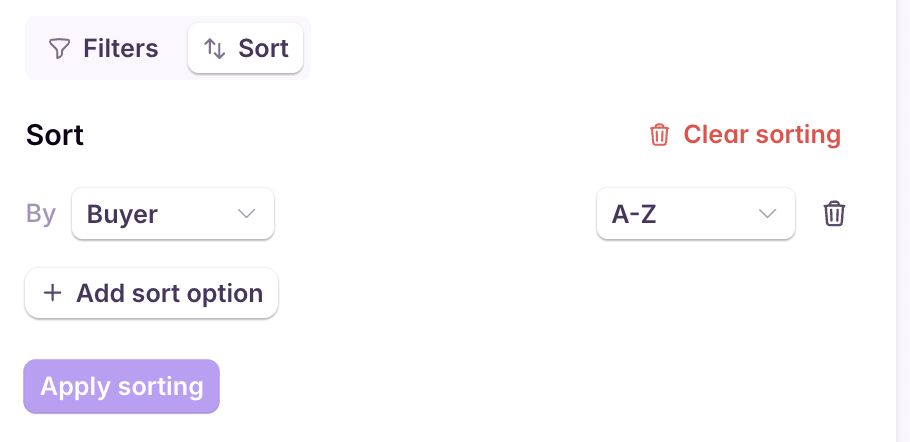
Filters & Sort
Bridge filters & sorting help you determine which subset of bridge data is visible to your team, and in what order based on data attributes. Consumers can further filter and sort their bridge results, but their filters do not impact any other users or their email digest. You can filter by the following filter types:- Meeting Filter: Determine whether results will be shown from all buyers, or buyers in each consumer’s territory. By default, this will be toggled to “Only buyers in a user’s territory”. If a user does not have a territory, they will see signals from all buyers.

- Column Filter: Filters limit signals to be shown only if certain column criteria is met. For example, you could configure filters to only show signals with scores above a certain threshold, to only show signals for buyers that are currently customers, etc.